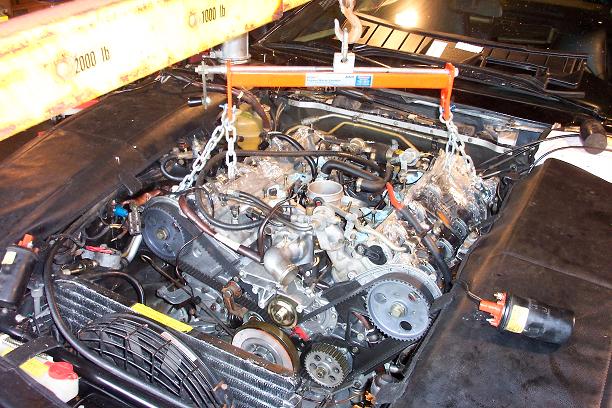
Here's a picture of the engine on the hoist. Before dropping the engine in, do yourself a favor and replace the rear crankshaft seal. It takes about 20 minutes and really can't be done easily with the engine in the car. You can see in this picture that I covered each of the cylinder heads with plastic to avoid having any parts or debris fall in there. I had already dropped a washer in one of them that slipped all the way down into the oil pan, requiring me to pull off the oil pan again (and use another new oil pan gasket). A few friends agreed to help put the engine in, and everyone was needed!
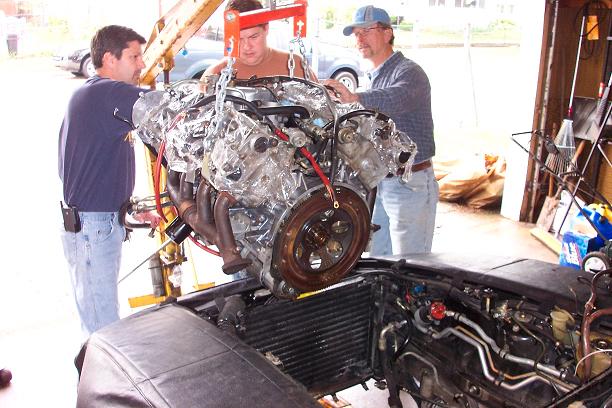
Having a few extra hands really helps. As you guide the engine in, have someone under the car watching to make sure the mounting points for the motor mounts line up with the mounts themselves. It's a tight fit, but once the engine is on top of the mounts, the weight of the engine will slide it onto the mounts. Keep some tension on the engine hoist so you can use a screwdriver to manuever the motor mount cover plates to align them with the mounting points on the engine. The bellhousing cover also has two metal tabs that are used to align the engine. Because the torque tube will drop down a few inches without the engine in place, you will need to jack up the torque tube. You'll also want to put another jack on the underside of the front of the engine to tilt it back.
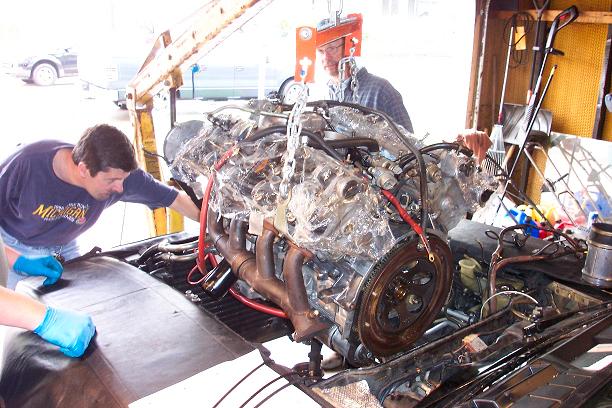
Here's a picture of me guiding the rear of the engine past the bellhousing cover. The flywheel will tend to get caught on the flywheel cover, so jacking up the front of the engine helps tilt the engine back to clear the cover.
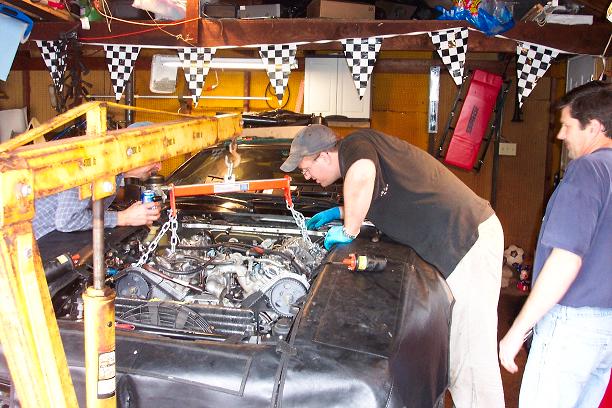
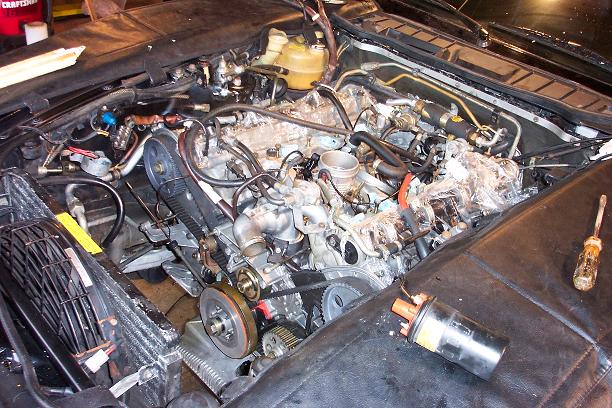
The engine is now in place. Remember, keep some tension on the hoist so you can get under the engine and align the motor mount cover plates with the holes on the bottom of the engine.
The engine is in and the hoist is removed after the motor mount bolts have been installed.
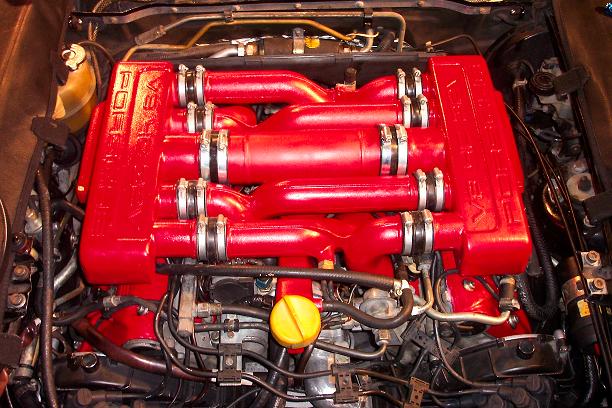
The powdercoated valve covers and intake arrived a couple days later. Here the driver's side valve cover and the oil intake have been installed.
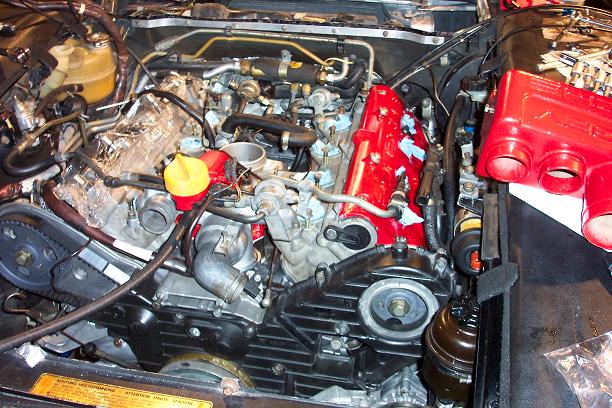
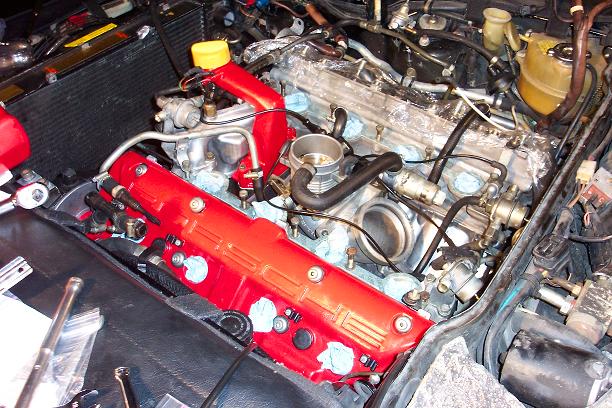
The passenger side cover and the center intake tube are installed:
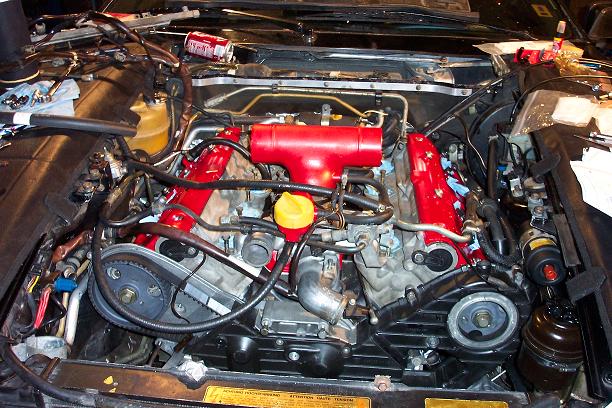
The rest of the intake is now on. When installing the intake, put on the PASSENGER side tubes before the driver side tubes. Once I had them on, I made sure the oil pan drain plug was tight and I put on a new oil filter. After that I poured in the new oil. Since I didn't replace the piston rings, I used regular oil (non-synthetic) formulated for higher mileage cars. The synthetic stuff has been reported to be thinner and capable of getting past seals that regular oil can't, thereby causing leaks.
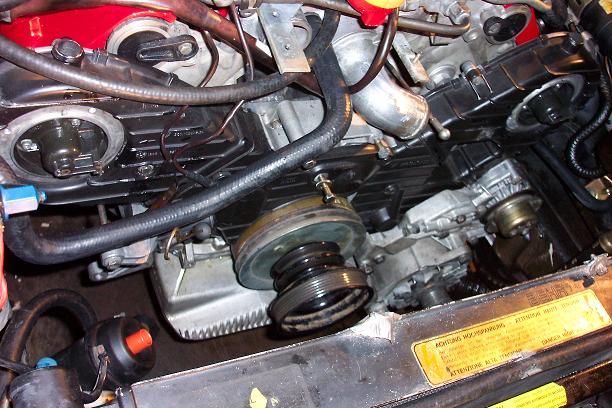
The timing belt covers and belt pulleys are back on.
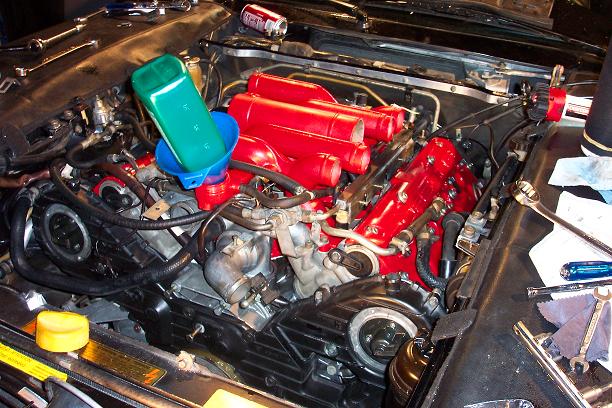
Fuel rails and oil breather lines installed.
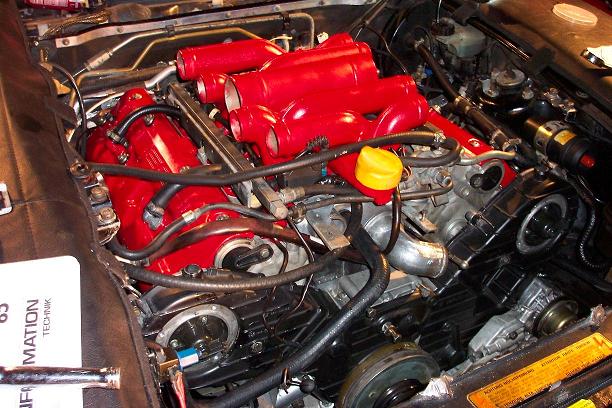
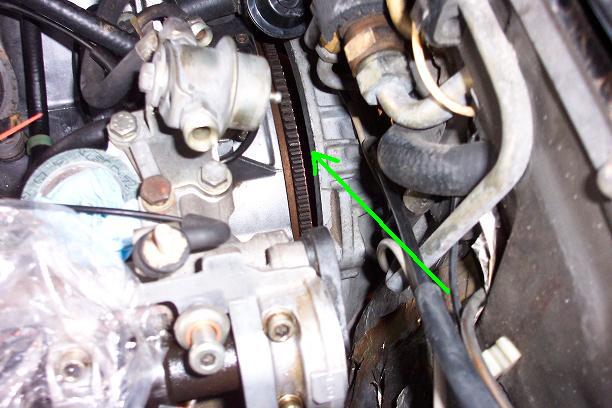
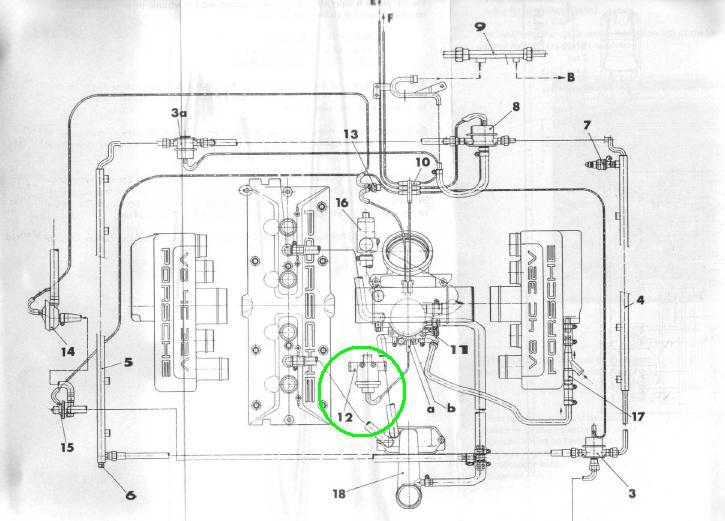
Here's a diagram of the layout of the vacuum lines and hoses for an '85 model. I couldn't find the valve circled here in green. Because I eliminated the air pump (I no longer have catalytic converters), that valve isn't present any more. As a result, I just sealed the related vacuum line with a rubber cap.
I then installed the spark plugs and wires. The timing belt covers actually have the cylinder numbers which correspond to the locations on the distributor caps printed on them. The remainder of the intake is on, so it's time to turn the key. Don't add coolant before turning the key unless you're 100% sure everything is perfect, or else you may end up draining the coolant and wasting it.