Once the cams are installed, it's time to install the cam gears and set basic timing on the engine. In other words, you need to make sure that the marks on the cams line up with the crank at top-dead-center (TDC).
The first thing to do is to install the camshaft seals. To do this, you need special tools 9233 and 9234. Basically, these two tools allow you to install the cam seals evenly. The seals have a lip on the inside, and tool 9233 is needed to avoid rolling that lip over as you push the ring on. Tool 9234 makes sure the rings are pushed in evenly. Here are the tools:
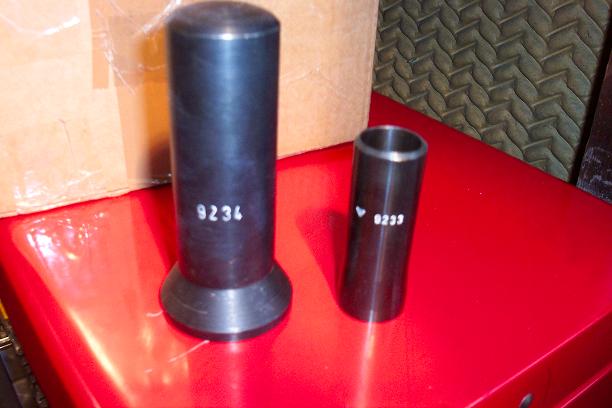
First tap tool 9233 onto the end of the cam shaft.
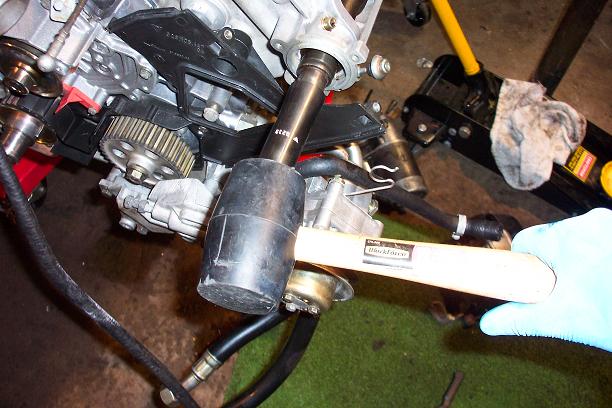
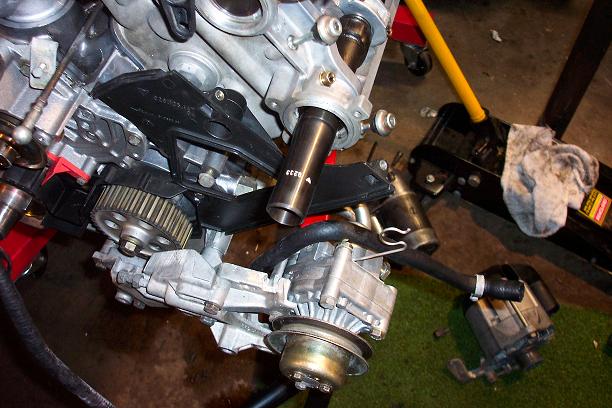
Second, slide the cam seal over tool 9233.
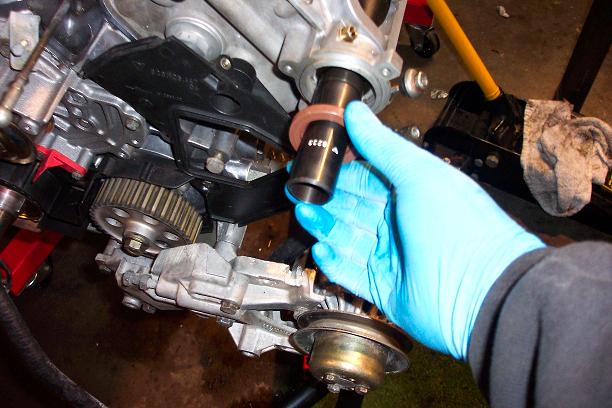
Third, slide tool 9234 on and tap the sealing ring into place. After that, install the other end caps and tighten them down.
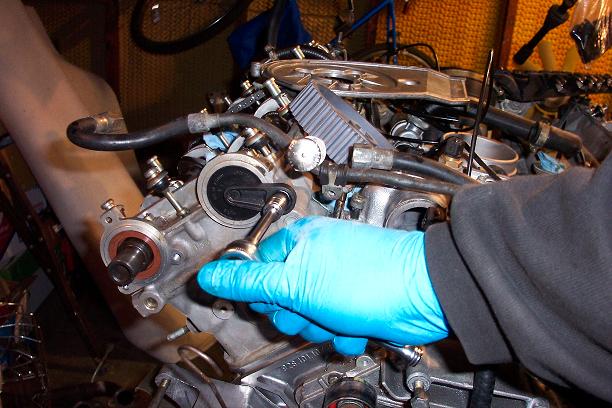
Install the rear timing belt cover plates.
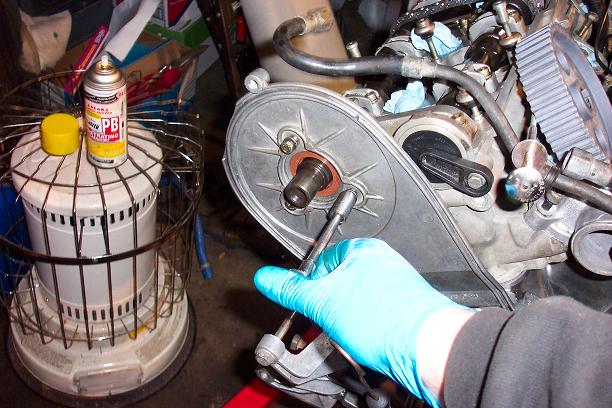
Install the woodruff keys into the ends of the camshafts.
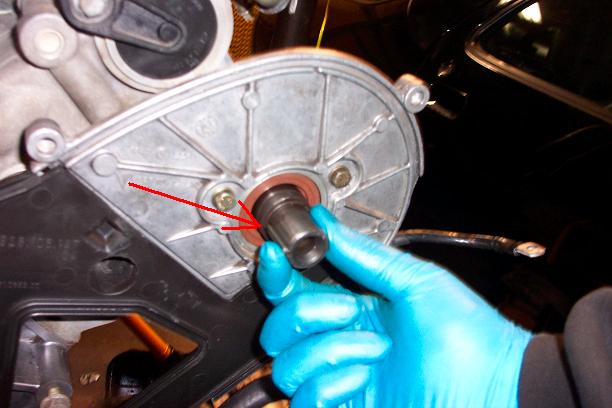
Tap the woodruff keys in with a rubber mallet.
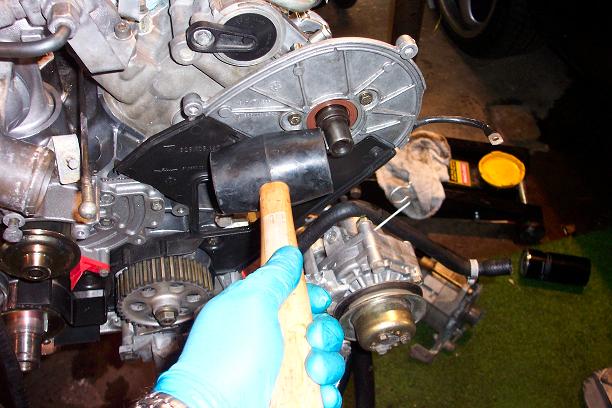
Install the triangular plates that will hold the distributor rotors.
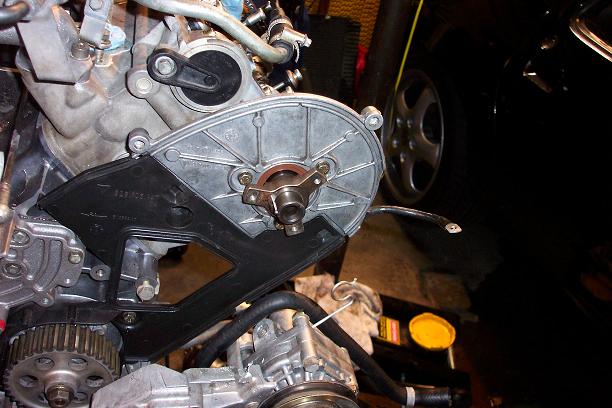
Slide on the cam gears and center the woodruff key in the middle of the gap on the cam gears.
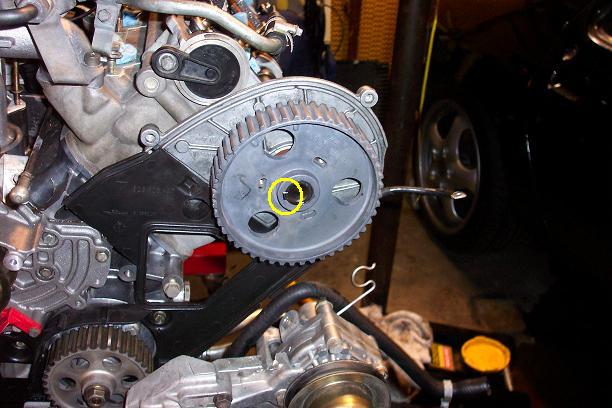
Lock down the triangular distributor rotor piece 3 bolts through the cam gears.
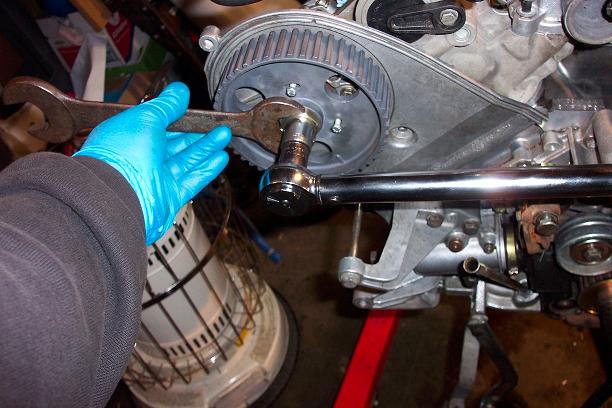
Tighten the cam bolts to 65 Nm (47 foot lbs) while counter-holding the 30mm washer.
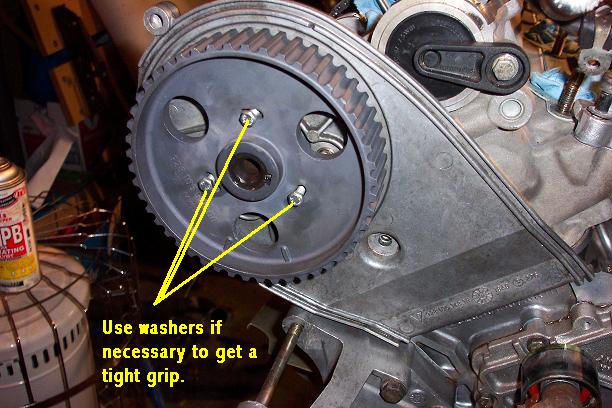
Install the timing belt, but leave it off the cam gears.
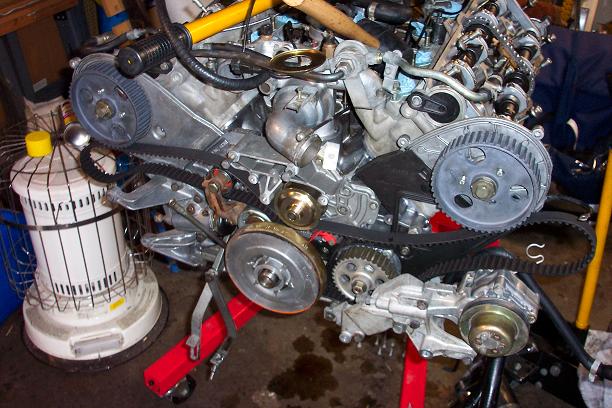
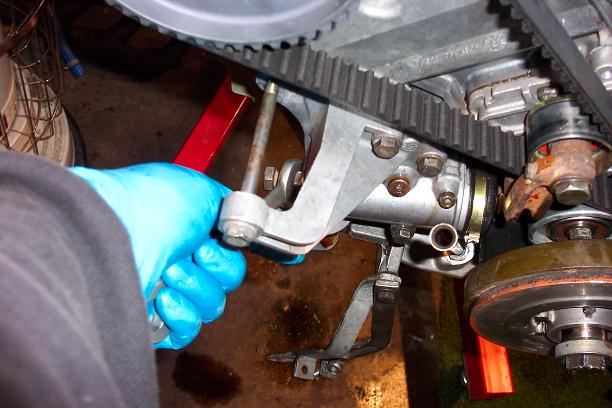
Next, turn the cams so that the marks on the cam gears line up with the marks on the rear cover plate. When I tried to do this, the cam bolts kept getting tighter (beyond the proper 65 Nm of prescribed torque). Since I was concerned that I might damage the bolts or worse, I decided to turn the cams using a 27mm crescent wrench. The cams are designed to allow this operation:
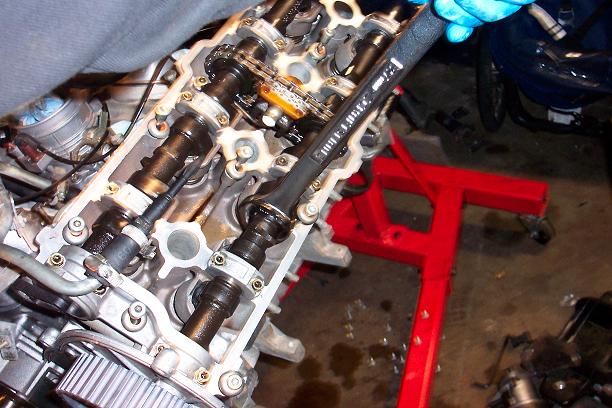
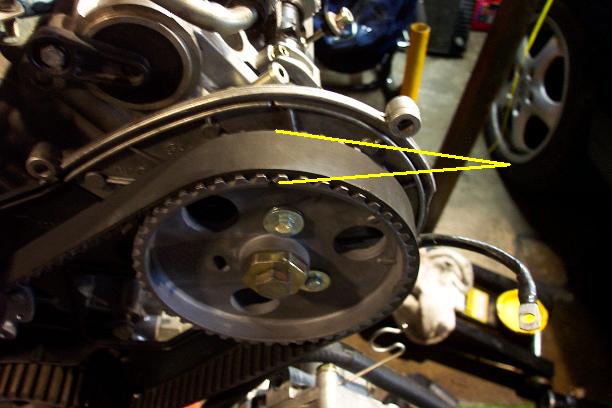
Here's how the marks on the cam gears and the rear cover plates should line up:
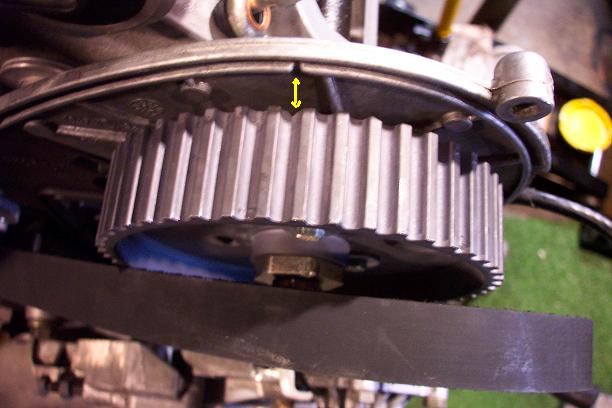
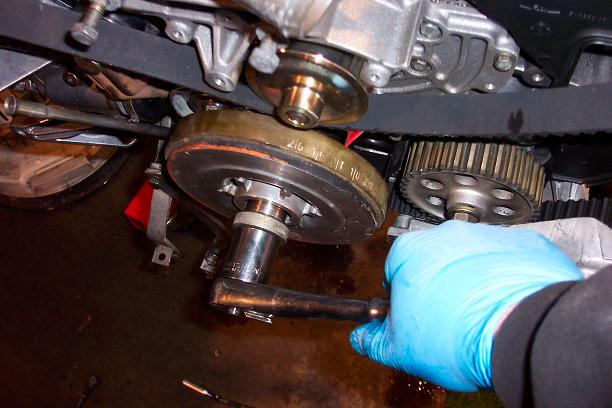
Next, turn the crank clockwise until it reaches 0 degrees TDC
Finish installing the belt over the cam gears. Pull it tight, and make sure the tensioner bolt has been fully loosened.
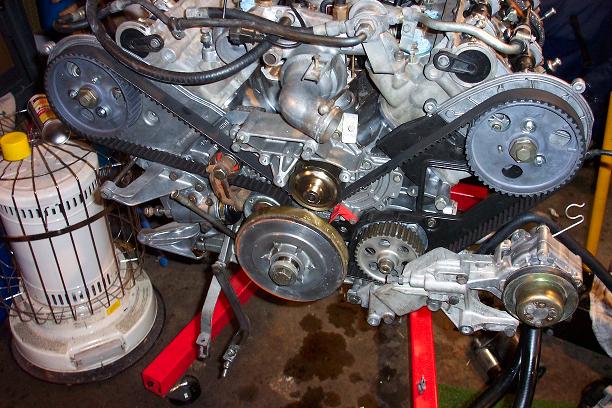
Check again to make sure that the markings on the cams match the marks on the rear cover plates. Take the time to mark the outside edge of the cam gear to show where the marking on the inside edge is. This will make future timing belt jobs easier.
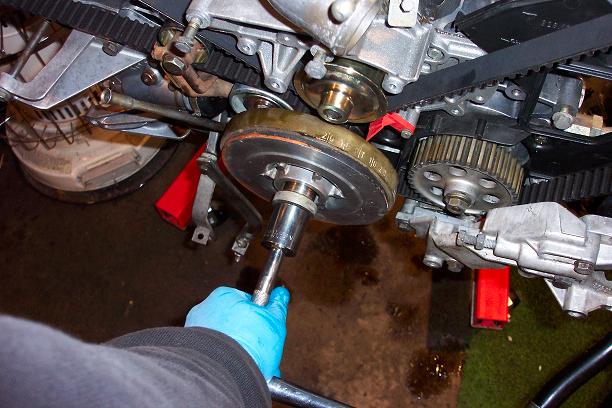
Rotate the crank 720 degrees back to O degrees TDC.
Check the belt tension. Here you can see I'm using the aftermarket tool developed by Jay Kempf. If the belt is too loose (like it is here), tighten the tensioner a little at a time until the gauge shows proper tension. Be sure to rotate the crank 720 back to 0 degrees TDC after each adjustment.
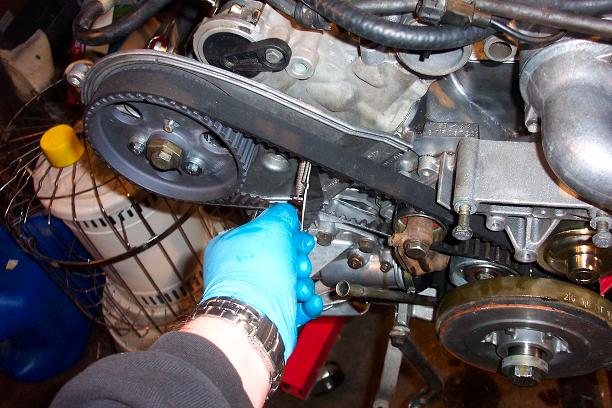
Make sure your cams are still lining up with the rear cover plates.
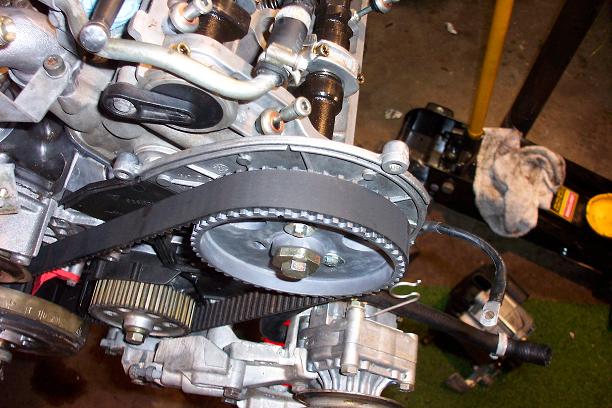
Once you've reached proper tension (and confirmed it by rotating again 720 degrees), tighten the locking nut on the timing belt tensioner. Congratulations! You've set basic engine timing. The next page will describe the process of fine-tuning the timing.
