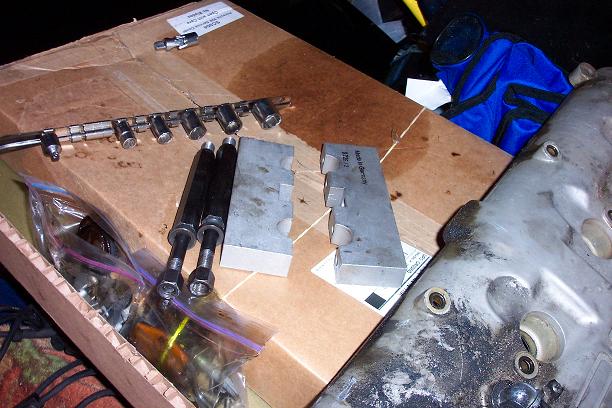
You already know how filthy the engine was from the pictures. The previous split oil line, crumbling hood pad and steering line leaks had made a huge mess over the years that just got worse when the belt shredded and coolant leaked out. I was determined to clean every bolt, nut and washer to return the engine to like-new condition if I was going to spend the time to fix it. The next step in the process was to remove the cams. To make sure you don't bend them (they're under spring pressure from the valves) you need "Special Tool 9226". The tool (pictured) is screwed into the spark plug holes and then clamps the cams into place. You can then remove the bearing caps. Once the caps are off, remove Special Tool 9226 evenly so the cam comes up evenly.
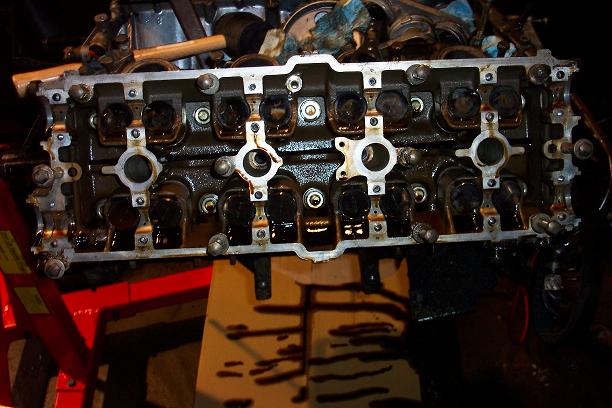
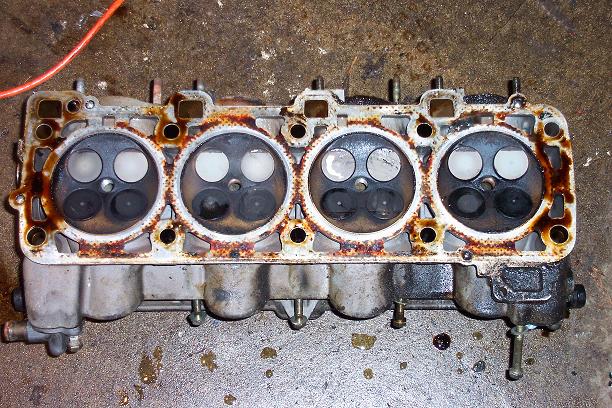
Here's a picture of the heads after the bearing caps and cams have been removed:
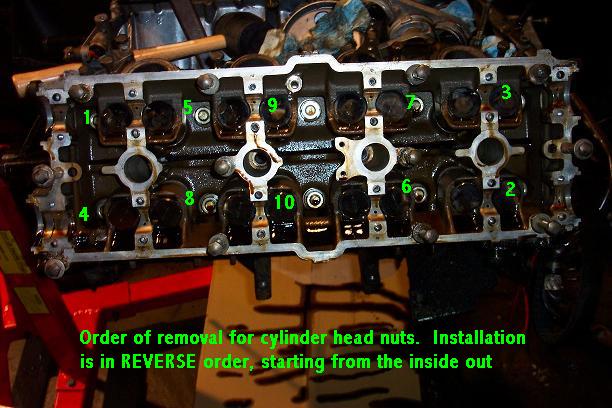
To remove the heads, you'll need a cheater bar. The nuts are originally torqued to 20Nm, and then turn an additional 270 degrees in 3 rounds (going from nuts 1 to 10 in order) of 90 degree turns. You need to remove the nuts in this order (installation is reverse order):
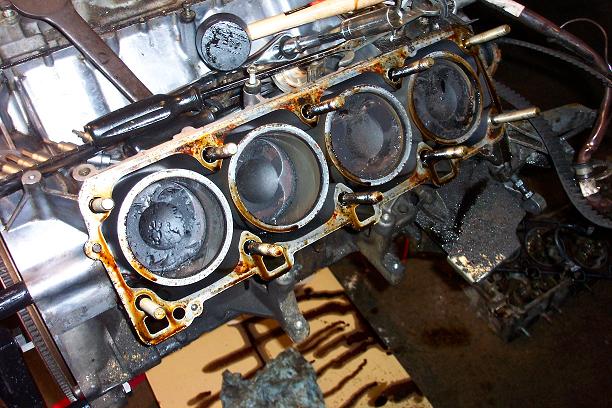
So now the heads are off, exposing the head gaskets, which were in bad shape. Here's the passenger side:

And after the head gasket was removed. Notice all the build up on the piston heads:
I examined the condition of the valves. It's not easy to see which ones are bent, but there is a noticeable gap where the valves seat on the far right, top:
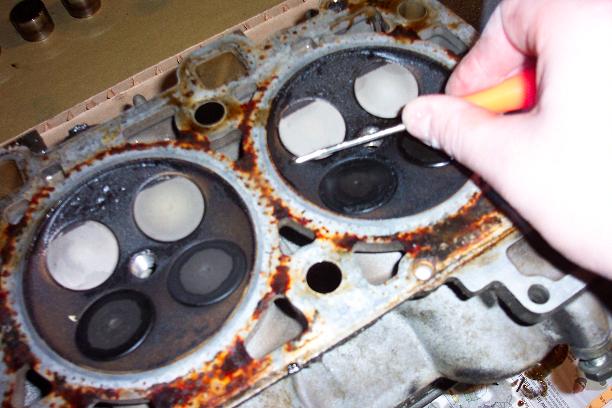
Here you can see that there's enough room to fit the end of a dental pick between the valve and the valve seat. Obviously this means no compression can be made.
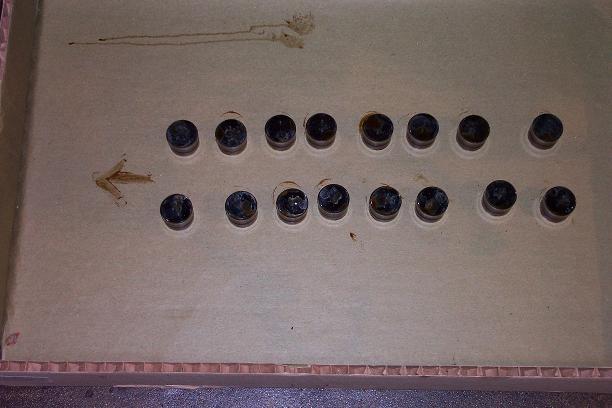
When you turn the heads upside down, the hydraulic lifters will fall out, so it's a good idea to remove them first. Keep track of where they came out of since it's recommended that they go back into the same spots. Here's how I kept track. I used a magnet to pull each one out. Be careful, they're full of oil and will continue to drain for weeks.
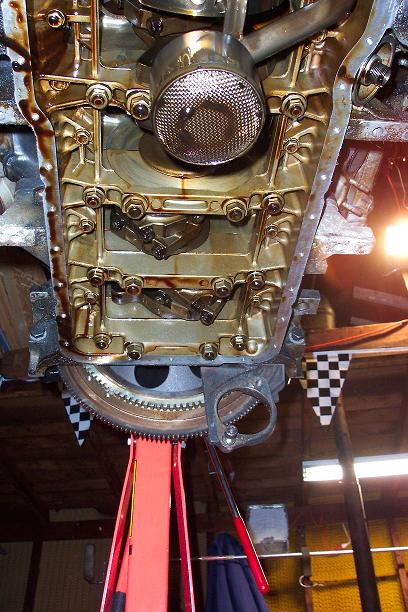
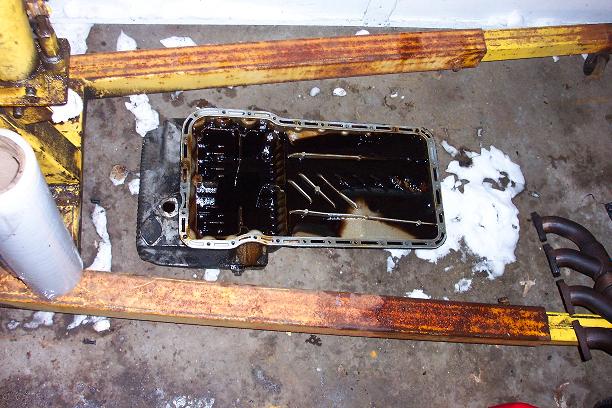
Next I removed the oil pan. There are 30 bolts that hold it in place, and 5 of them are slightly shorter than the rest. The shorter ones go into the spaces on the pan were there are slight indentations. 4 of them are located where the oil pan sits above the crossmember. You can see the pan had some sludge in it. Luckily the pan gasket came off fairly easily. Be sure you don't scratch the surface where the gasket sits or you'll have a hard time preventing future leaks.
Here's a shot of the crank and connector rods. It's a good idea to replace the connector rod bearings, and make sure you use all new rod nuts. It's an easy process. The connector rod nuts are torqued to 55 ft pounds.